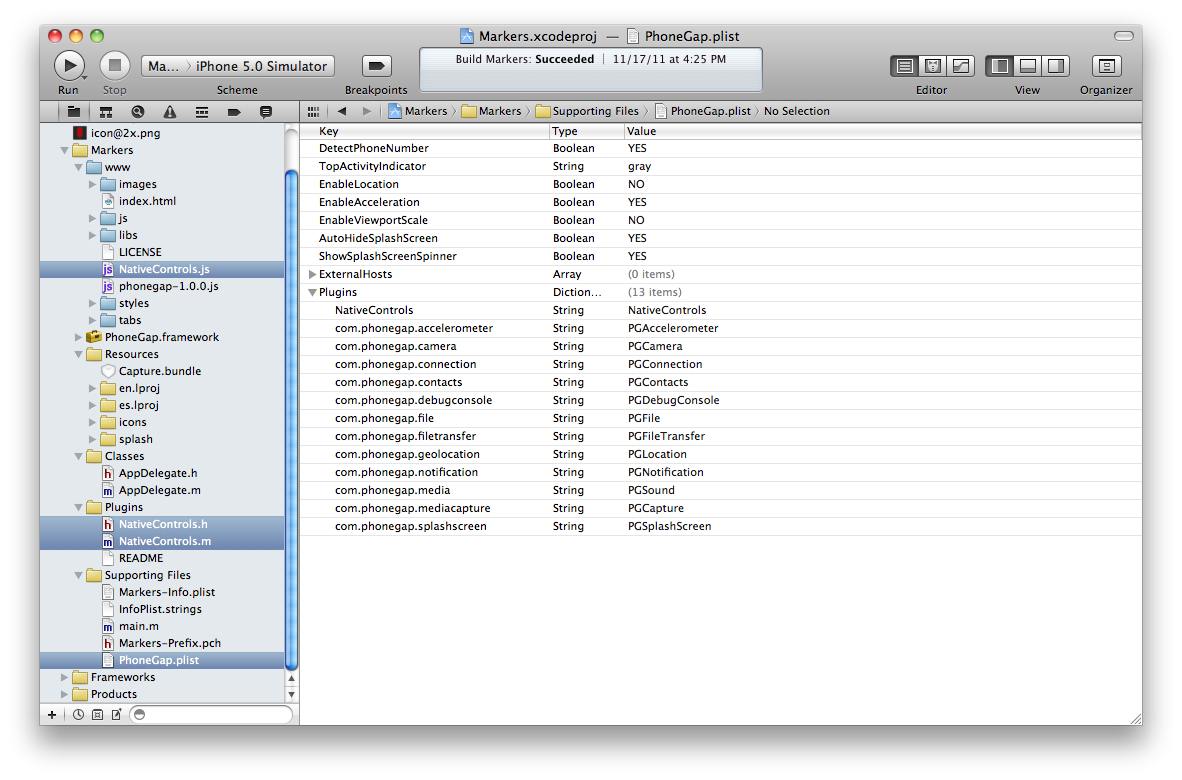
As many might know the most used plugins in PhoneGap for iOS are NativeControls and ChildBrowser, but installing plugins is a bit tricky and you can’t easily find this kind of help around the internet, for example in my case I’ve learned by reading about plugins installation in PhoneGap and doing tests, so on this post I’ll cover the entire setup and usage of NativeControls (but you can use this for any other plugin in the iOS repo) in a very simple and informative way that even a PhoneGap beginner can understand. I’ll assume that you’ve already had installed and configured the Xcode environment on your Mac and is familiarized with the latest version of it. The first thing you must do is download the phonegap-plugins repo archive and extract it anywhere you like. Now go to the extracted folder and go to iPhone/NativeControls and copy the NativeControls.h and NativeControls.m to the /Plugins folder on Xcode, then move the NativeControls.js to your desired place in the www folder. After all this copying and pasting you must open your PhoneGap.plist under /Supporting Files and add a new item to the Plugins array with the Key and Value NativeControls and the Type String, at the end your project should look something like this:
Now you’re ready to start diving into the code. The first thing you should do is include the required Javascript files into your index HTML source in this order:
<script src="phonegap-1.0.0.js" type="text/javascript" charset="utf-8"></script>
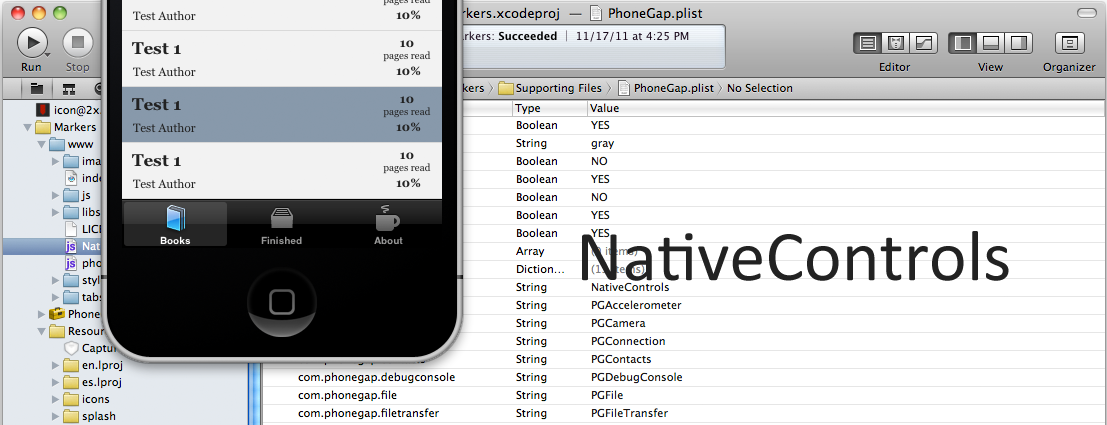
<script src="NativeControls.js" type="text/javascript" charset="utf-8"></script>The next thing to do is go to your main Javascript file, which contains the onDeviceReady event set and put the NativeControls initialization code there. On this example we are going to use the TabBar component to output something like this:
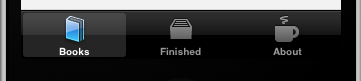
As you might have noticed I’m using the Glyphish Pro icon pack there, which you can get for $25, but it’s worth every cent, since it’s such a complete icon pack for your TabBars and more. First of all you should initialize a NativeControls variable and create a assign a TabBar to it using this code:
nativeControls = window.plugins.nativeControls;
nativeControls.createTabBar();
Then you can start creating a icon/button for a tab using this JSON object:
nativeControls.createTabBarItem(
  "books",
  "Books",
  "/www/tabs/book.png",
  {"onSelect": function() {
    // Do something
  }}
);
The first item is the name variable, the second is the icon label, the third is the icon path and the last one is a function that should be called every time icon is clicked. Be aware that you should insert the icon path relative to the project folder! About retina icons I really encourage you to check out this explanation on how to organize them. After you added all the icons you want to the TabBar you should show it in the screen. Then start to place the icons (the order you declare on this function they will get placed) and finally assign a TabBar to be active as the app is fired, just like this:
nativeControls.showTabBar();
nativeControls.showTabBarItems("books", "finished", "about");
nativeControls.selectTabBarItem("books");
If you want you can choose from the pre-defined TabBar icons that Apple include by default on their SDK by using these keywords as the icon item:
tabButton:MoretabButton:FavoritestabButton:FeaturedtabButton:TopRatedtabButton:RecentstabButton:ContactstabButton:HistorytabButton:BookmarkstabButton:SearchtabButton:DownloadstabButton:MostRecenttabButton:MostViewed
Remember that the label will be unusable since these will overwrite it, but you should put something on the label item or it won’t work. I’ve uploaded the full source code to my Gist and you can check it out at Example of NativeControls in PhoneGap. After all this hard work you’re ready to compile your application and test it. If you followed the instructions correctly everything should work. If anything goes wrong please drop us a comment and will be my pleasure to help you. Also leave a comment with your thoughts on this article or suggestions.